- Introduction
- Configuration
- Keys
-
Email Clients
- Basic Email Client Configuration
- Outlook XP/2002
- Modifying Outlook XP/2002
- Outlook 98/2000/Express
- Modifying Outlook 98/2000/Express
- The BAT
- Modifying The BAT
- Pegasus
- Modifying Pegasus
- Eudora
- Modifying Eudora
- Calypso
- Modifying Calypso
- IncrediMail
- Modifying IncrediMail
- Netscape Mail
- Modifying Netscape Mail
- Technical
-
FAQ
- What email clients work with SecExMail ?
- Does SecExMail work with IMAP?
- How secure are SecexMail keys ?
- Is SecExMail legal in my country ?
- Does SecExMail support signatures ?
- Does SecExMail work with PGP ?
- Is the source code available for SecExMail ?
- Why can I not mix clear text and cipher recipients ?
- About
| Previous Top Next |
Email Encryption for Windows
The BAT
To configure The BAT to work with SecExMail, you will need the password given to you by your internet service provider (ISP) or your system administrator. SecExMail operates as a go-between or relay agent between The BAT and your ISP's mail server. It encrypts and decrypts messages to and from people on your Friends list so The BAT must be configured to send and receive mail via SecExMail. Follow the steps detailed below to configure a new email account in The BAT for use with SecExMail. These instruction apply to The BAT version 1.6.
If you are modifying an existing The BAT email account for use with SecExMail, please refer to modifying The BAT email accounts.
Step 1
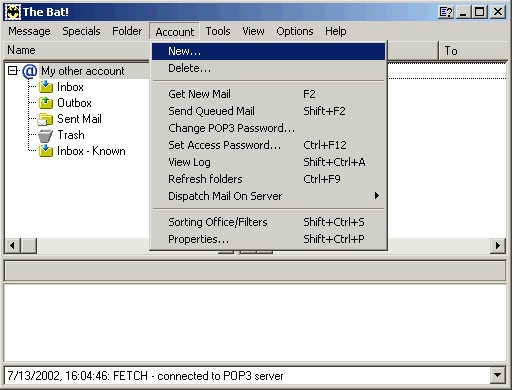
Open The Bat and click on Accounts and New. This will invoke the new user account screen.
Step 2
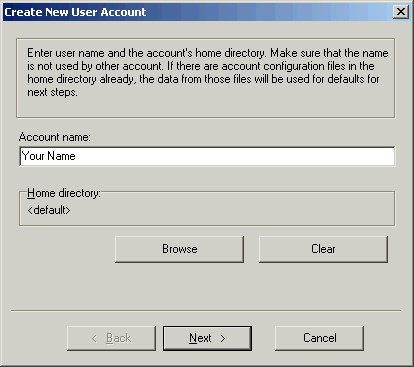
Enter your name the email account name. Click Next to continue.
Step 3
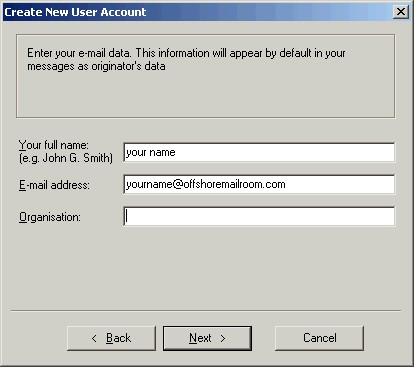
Enter your full name and the e-mail address as provided by your ISP or system administrator. Click Next to continue.
Step 4
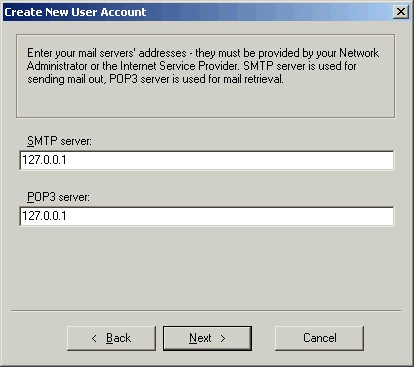
Enter the IP address 127.0.0.1 for both POP3 and SMTP servers. This IP address is the loopback address for all computers running the Internet Protocol and is located on your computer. SecExMail is listening on this IP address and will process all incoming and outgoing e-mail messages. Do not enter your internet service providers (ISP) mail server details here - see "Configuring your mail server". Click Next to continue.
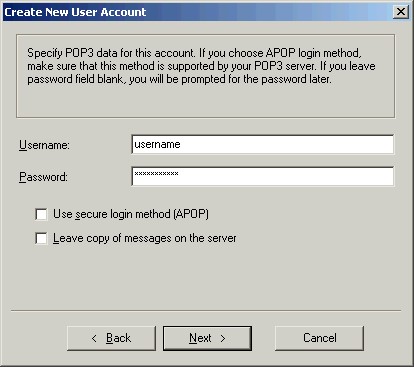
Step 5
Enter your user name and password for your e-mail account as given to you by your ISP or system administrator. Click Next to continue.
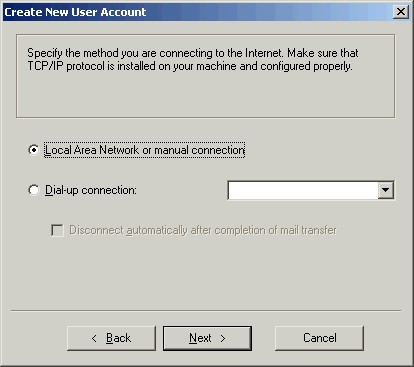
Step 6
Choose "Local Area Network or manual connection" if you are on a local area network or broadband connection. Choose "Dial-up connection" if you have a conventional modem connection to the internet. Click Next to continue.
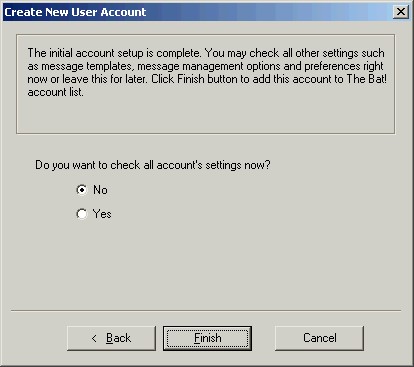
Step 7
Click Finish to complete The Bat account setup.
Step 8
Finally, enter your internet service providers (ISP) mail server details on the Mail Server tab - see "Configuring your mail server".